Table of Contents
Toggle📌 What Are Sandpaper Grits?
If you’ve ever done a DIY woodworking or home repair project, you’ve likely used sandpaper. But all sandpapers are not the same — and that’s where sandpaper grits come in.
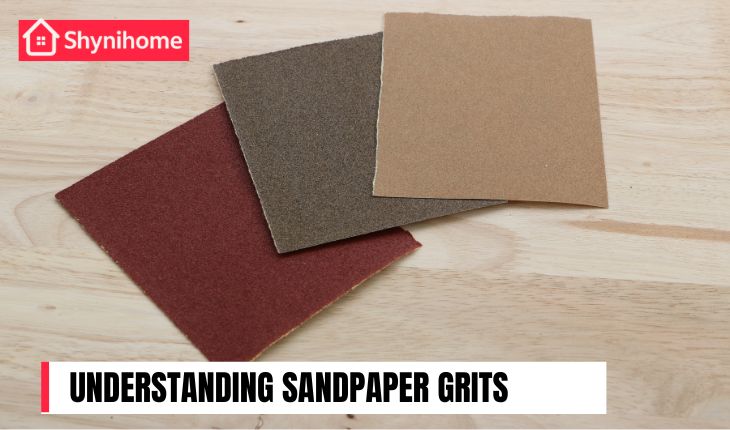
“Grit” refers to the coarseness of the sandpaper.
The lower the number, the rougher the paper. The higher the number, the finer and smoother it is.
🧾 Why Knowing Sandpaper Grits Matters
Using the wrong grit can:
- ❌ Damage your surface
- ❌ Waste time and materials
- ❌ Leave rough or uneven finishes
Using the right grit ensures:
✅ Smooth surfaces
✅ Proper paint or stain adhesion
✅ Professional-looking results — even for beginners!
👉 Also Read: How to Use a Stud Finder (Why You Need One)
🔢 Sandpaper Grit Chart (Quick Breakdown)
Here’s a beginner-friendly grit chart to understand what grit number to use for different tasks:
| Grit Number | Type | Best For |
|---|---|---|
| 40–60 | Coarse | Removing paint, heavy sanding, shaping wood |
| 80–100 | Medium | General sanding, prepping for paint |
| 120–150 | Fine | Smoothing surfaces before finishing |
| 180–220 | Very Fine | Between coats of paint or stain |
| 320+ | Extra Fine | Final polishing and delicate surfaces |
🧰 How to Choose the Right Grit for Your Project

Here’s a simplified method to pick the correct grit:
🟠 Step 1: Surface Condition
- Rough surface? Start with coarse grit (60–80)
- Slightly uneven or older surface? Use medium grit (100–120)
🟢 Step 2: Surface Preparation
- Before painting or staining? Use fine grit (150–180)
🟣 Step 3: Final Smoothing
- After painting or between coats? Use very fine grit (220–320+)
🔄 Can You Use Multiple Grits in One Project?
Absolutely — and you should.
Here’s a simple rule:
🧱 Start coarse → move to medium → finish fine.
For example:
- Step 1: 80 grit (rough shaping)
- Step 2: 120 grit (smoothing)
- Step 3: 220 grit (finish sanding)
🧽 Sandpaper Grits Aren’t Just for Wood!
You can also use them for:
- 🪞 Glass smoothing
- 🚲 Metal rust removal
- 🚗 Auto bodywork
- 🛁 Sanding drywall patches
Each material may require a specific type of abrasive material (like aluminum oxide or silicon carbide), but grit numbers still apply.
⚠️ Common Sanding Mistakes to Avoid
❌ Using coarse grit too long — it can leave deep scratches
❌ Skipping grits (e.g., 60 → 220) — this causes uneven finish
❌ Not changing sandpaper when it’s worn out — reduces effectiveness
❌ Applying too much pressure — let the grit do the work
👉 Also Read: DIY Tools 101: A Beginner’s Guide to Home Improvement
🏁 Conclusion
Understanding sandpaper grits is a simple yet powerful skill that makes your DIY projects smoother — literally and figuratively! Whether you’re refinishing furniture, painting walls, or crafting wood decor, choosing the right grit means better results and less frustration.
🔑 Remember:
“The lower the number, the rougher the grit — the higher the number, the smoother the finish.”
