
Is your bathroom caulk turning black, cracked, or peeling away? Don’t worry — you don’t need a professional to fix it! Replacing caulk is a simple DIY task that can make your bathroom look fresh, clean, and protected from water damage.
In this step-by-step guide, you’ll learn how to replace caulk like a pro — even if you’ve never done it before.
🧰 What You’ll Need:
- Utility knife or caulk remover tool
- Painter’s tape
- Rubbing alcohol or cleaning solution
- Caulking gun
- Tub & tile caulk (preferably silicone-based)
- Gloves & rags
👉 Also Read: How to Fix a Running Toilet Without Calling a Plumber
🛁 How to Replace Caulk in the Bathroom: Step-by-Step

🔍 Step 1: Remove the Old Caulk
Use a utility knife or caulk remover tool to gently scrape out the old caulk along seams (like between the tub and tile). Be careful not to scratch the surfaces.
🧼 Once removed, clean the area with rubbing alcohol to remove any soap scum, mildew, or debris.
📏 Step 2: Prep the Surface
Let the area dry completely — this is important for the new caulk to adhere properly.
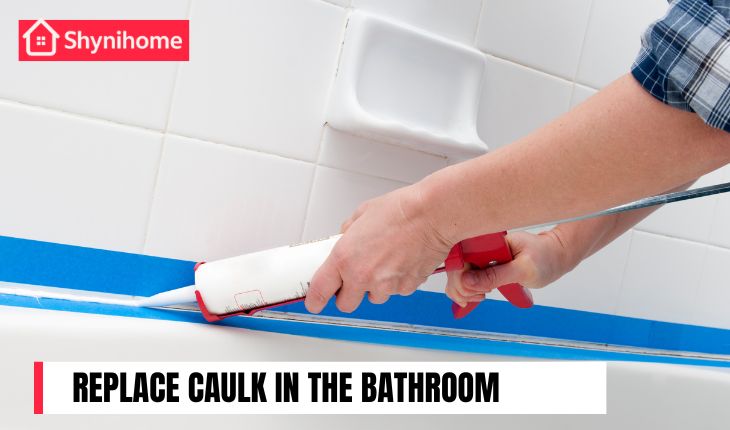
💡 Pro Tip: Use painter’s tape to line both sides of the seam. This gives you a clean, straight edge when applying the new caulk.
🖊 Step 3: Apply the New Caulk
Cut the tip of your caulk tube at a 45° angle. Load it into the caulking gun and apply a steady, even bead of caulk along the seam.
👉 Start slow. Smooth the bead with your finger or a caulk smoothing tool immediately after applying.
⏳ Step 4: Let It Dry
Follow the instructions on your caulk tube. Most caulk needs at least 24 hours to fully cure, but some fast-dry versions cure in as little as 6 hours.
🚫 Avoid using the shower or sink during this drying time.
✅ Why Replacing Caulk Matters
Old or damaged caulk can lead to:
- Mold and mildew buildup
- Water leaks behind walls or under tiles
- An unsightly, neglected look
By taking just an hour or two, you can protect your bathroom and keep it looking fresh.
👉 Also Read: Guide to DIY & Home Repair: Fix Your Home Like a Pro
🔚 Final Thoughts
You don’t have to be a professional to replace caulk — just careful, patient, and prepared. With the right tools and steps, anyone can tackle this simple bathroom maintenance task and enjoy the clean, sealed results.