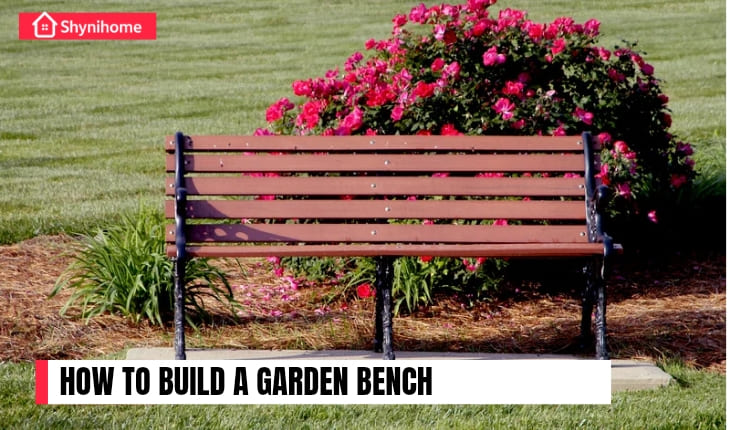
Dreaming of a cozy outdoor space where you can relax, sip coffee, or enjoy the evening breeze? Instead of buying expensive patio furniture, why not build your own garden bench — using leftover wood already lying around?
Yes, it’s totally doable — even for beginners. A homemade garden bench not only saves money but also gives your yard a personal touch. Let’s walk through how you can build a stylish and functional bench with scrap wood from past DIY projects.
Table of Contents
Toggle🧰 Materials & Tools You’ll Need
First things first — gather your supplies. You’ll likely find most of these in your garage or storage area.
Materials:
- Leftover wooden boards (2x4s, pallets, or decking wood work great)
- Wood screws or nails
- Sandpaper or sander
- Wood glue (optional)
- Wood stain, sealant, or paint (optional for finishing)
Tools:
- Measuring tape
- Saw (hand saw or circular saw)
- Drill or hammer
- Screwdriver
- Level
- Clamps (optional but helpful)
👉 Also Read: DIY Pet Bed Using Recycled Materials
🪵 How to Build a Garden Bench from Leftover Wood: Step-by-Step

✏️ Step 1: Plan Your Garden Bench
Before cutting anything, decide the size of your bench. A standard garden bench is about 4 feet long, 18 inches high, and 14 inches deep. Measure the available space in your garden and mark dimensions that suit your area.
Sketch a simple design — even a rough drawing helps. Focus on three main parts:
- Seat – Where you’ll sit.
- Legs – Supports on each side.
- Braces – For extra stability between the legs.
🪚 Step 2: Cut the Wood
Based on your plan, cut the wood pieces accordingly:
- Seat planks: 2–3 boards, 4 feet long
- Legs: 4 pieces, about 18 inches each
- Support frame: 2 long pieces (bench length), 2 shorter ones (bench width)
- Diagonal or cross-braces: Optional but great for stability
Always wear safety goggles and gloves when cutting wood!
🔩 Step 3: Assemble the Frame
Start by building the rectangular frame that will support the seat. Screw or nail the four sides together securely. Then attach the legs to each corner of the frame. Use a level to make sure everything is straight.
If you’re using thinner or older wood, adding L-brackets or wood glue will strengthen the joints.
🪑 Step 4: Attach the Seat
Place your top planks on the frame. Leave small gaps (⅛ inch) between each plank to allow for rain drainage. Screw or nail them in securely.
If you want a backrest, you can attach vertical supports to the back legs and screw a few boards horizontally for comfort.
🧽 Step 5: Sand and Finish
Now that your garden bench is built, it’s time to smooth it out:
- Sand all edges and surfaces to avoid splinters.
- Wipe off dust with a damp cloth.
- Apply outdoor wood stain or waterproof sealant to protect against weather.
For a more colorful look, use outdoor paint to match your garden’s vibe.
👉 Also Read: DIY Projects for Beginners: Build, Create & Upgrade Your Home
✅ Final Thoughts
Creating a garden bench from leftover wood is a simple project that brings big rewards. You reduce waste, save money, and gain a custom piece of furniture for your yard. Whether it becomes your reading nook, plant display area, or coffee spot — it’s a DIY win!
So go ahead, dig through your scrap pile, and let your creativity shine through wood and screws. Happy building!
