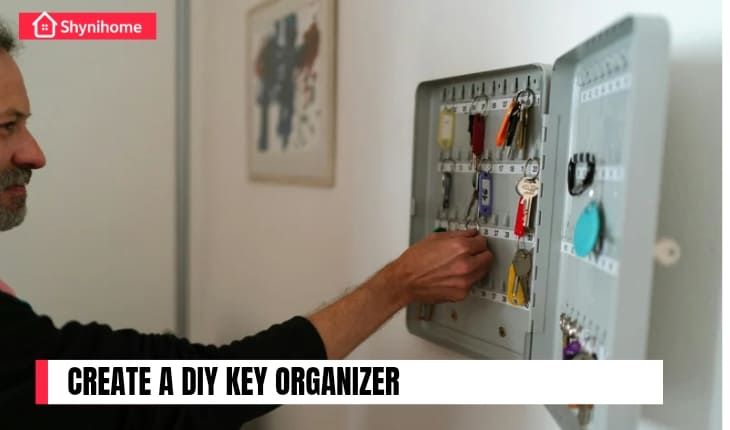
Do your keys always go missing at the worst possible time — like when you’re rushing out the door? If yes, you’re not alone. The solution is simple, stylish, and super practical: build your own key organizer!
A DIY key organizer not only declutters your entryway but also adds a touch of personality to your wall. Whether you prefer rustic, modern, or minimalist décor — you can easily create one that fits your space and style.
Table of Contents
Toggle🛠 Why You Need a Key Organizer
Before we jump into the steps, here’s why a key organizer is a must-have:
- No more lost keys
- Faster morning routine
- Less clutter on countertops
- Customized to match your interior
Plus, it’s a fun beginner DIY project you can complete in under an hour!
👉 Also Read: How to Create a DIY Picture Frame Gallery Wall Like A Pro
🧰 Materials You’ll Need
You can build a beautiful key organizer with just a few basic materials — many of which you may already have at home.
Materials:
- Wooden board (reclaimed wood, pallet, or craft wood — around 8×12 inches)
- Screw-in hooks or cup hooks
- Wall-mounting hardware (sawtooth hangers, command strips, or nails)
- Paint, stain, or decorative paper (optional)
- Chalkboard paint or labels (optional)
Tools:
- Drill or screwdriver
- Sandpaper
- Ruler or measuring tape
- Pencil
🔑 Create a DIY Key Organizer: Step-by-Step

🖌 Step 1: Prepare Your Wooden Base
Start by choosing a wood piece that matches your desired style and size. Sand it smooth on all sides. If you like a rustic look, leave some imperfections. Want a modern finish? Go for a clean, painted surface.
Optional: Stain, paint, or decorate the front of the board to match your home décor. You can even add quotes like “Keys, Please” or “Grab & Go” using stencils or vinyl.
🧮 Step 2: Mark Hook Positions
Use a ruler and pencil to mark evenly spaced spots on the board where you’ll screw in the hooks.
Tip: Leave enough space between each hook for multiple keys or keychains.
If you plan to add labels above the hooks (like “Car,” “House,” “Garage”), measure those out too.
🔩 Step 3: Attach the Hooks
Now, screw the hooks into the marked spots. You can use cup hooks, decorative hooks, or even repurpose old knobs for a unique look.
Make sure they’re securely fastened so they can hold the weight of multiple keys.
🧱 Step 4: Mount It on the Wall
Attach mounting hardware to the back of the board — or use strong adhesive strips if you’re renting and don’t want to damage the wall.
Hang your key organizer near the door, in the hallway, or wherever you usually toss your keys.
💡 Extra Tips to Personalize Your Key Organizer
- Add a small shelf on top for sunglasses or wallets
- Use chalkboard paint to write reminders or notes
- Add hooks for dog leashes or mail slots underneath
- Repurpose old wood or metal pieces for an upcycled look
👉 Also Read: DIY Projects for Beginners: Build, Create & Upgrade Your Home
✅ Final Thoughts
A DIY key organizer is a simple project that solves a big everyday problem. You’ll never lose your keys again, and your entryway will look more organized and welcoming. Best of all — it’s totally customizable to suit your personality and space.
So next time you’re scrambling to find your car keys, remember — a quick DIY afternoon project could save you time every day!
