
🏠 Tired of Shoes Everywhere? Let’s Fix That!
Scattered shoes not only create clutter but also make your entryway or closet look messy. A custom shoe rack is the perfect DIY project to organize your footwear and add charm to your home. The best part? You can build one with just basic tools and a small budget! 🙌
🧰 What You’ll Need
📦 Materials:
- Wooden boards (cut to size)
- Wood screws or nails
- Wood glue (optional)
- Sandpaper
- Wood stain or paint (optional)
- Rubber pads or felt (to protect the floor)
🛠️ Tools:
- Drill or screwdriver
- Hammer (if using nails)
- Measuring tape
- Saw (hand saw or circular saw)
- Level
- Pencil
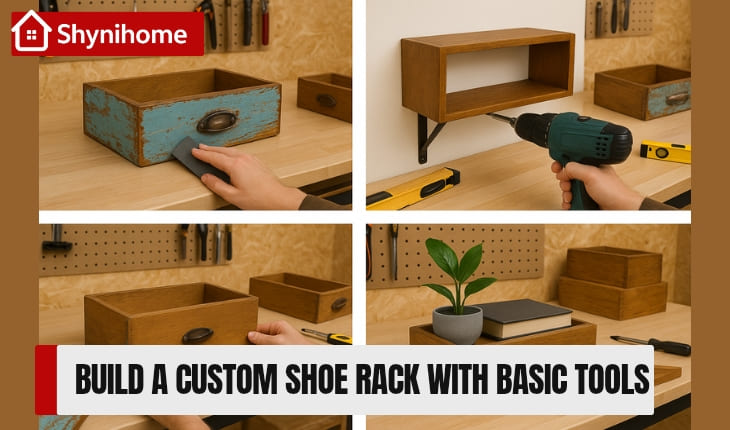
👉 Also Read: How to Make Wall Shelves from Old Drawers
🪚 Step-by-Step Guide: DIY Shoe Rack

✅ 1. Plan the Design
Measure your space and decide:
- How many tiers/shelves you want
- How many pairs of shoes each shelf should hold
- The height between shelves (5–7 inches is ideal for most shoes)
✅ 2. Cut the Wood
✂️ Cut the boards to match your design:
- Two side panels
- Multiple shelf boards
- Optional: back panel for added support
📏 Pro Tip: Mark all measurements clearly and double-check before cutting!
✅ 3. Sand the Edges
Use sandpaper to smooth rough edges and corners for a safe and polished finish.
🪵 This also helps paint or stain adhere better.
✅ 4. Assemble the Frame
- Attach the side panels to the bottom shelf first
- Add each shelf one by one, securing with screws or nails
- Use a level to ensure the rack stays even
🔨 Optional: Apply wood glue for extra strength before screwing in.
✅ 5. Paint or Stain 🎨
Finish your rack with:
- A natural wood stain for a rustic vibe
- Bright paint to match your decor
- Or leave it unfinished for a raw, minimalist look
Let it dry completely before using.
✅ 6. Add Finishing Touches
- Place rubber/felt pads underneath to protect floors
- Add labels or small baskets for organizing shoes by type
- You can even mount it to the wall for stability
🏆 Why Make Your Own Shoe Rack?
- ✅ Custom size to fit your space
- ✅ Organize shoes neatly and stylishly
- ✅ Saves money over store-bought versions
- ✅ Beginner-friendly DIY project
- ✅ Fun weekend project for any room!
💡 Extra Tips
- Use pallets or reclaimed wood to cut costs
- Add hooks on the side for bags or keys
- Paint each shelf a different color for a fun pop
👉 Also Read: DIY Projects for Beginners: Build, Create & Upgrade Your Home
🕒 Time & Budget Estimate
| Task | Time |
|---|---|
| Planning & Measuring | 30 mins |
| Cutting & Sanding | 1 hour |
| Assembling | 1 hour |
| Painting/Staining | 1 hour |
💰 Estimated Cost: $15–$40 (depending on materials on hand)