
Want to add instant warmth and personality to a plain room? Say hello to fabric wall panels — a budget-friendly, beginner-friendly DIY idea that transforms your space without major renovations. Whether you live in a rental or your forever home, fabric wall panels can turn any wall into a cozy, textured statement piece.
Let’s walk through how to make your own panels at home using simple materials and tools
🎯 Why Choose Fabric Wall Panels?
Fabric wall panels are more than just pretty—they offer multiple benefits:
- Cozy Aesthetic: Adds warmth, texture, and softness
- Sound Dampening: Helps reduce echo and noise
- Customizable: Choose any fabric, pattern, or size
- Easy to Change: Perfect for seasonal updates or renters
Whether you’re going for a modern, rustic, or boho look, fabric wall panels can match your style.
👉 Also Read: Add Character with Removable Wallpaper (Stylish & Easy)
🧰 Materials You’ll Need
To get started, gather these affordable items:
- Plywood or foam board (for panel base)
- Batting or foam (for a soft, cushioned feel)
- Your choice of fabric (cotton, linen, velvet, etc.)
- Staple gun or strong adhesive
- Measuring tape and scissors
- Optional: Command strips or hanging hardware
🛠 How to Make Fabric Wall Panels (Step-by-Step)

Step 1: Choose the Right Fabric
Pick a fabric that complements your room’s color palette. Velvet and linen add elegance, while cotton offers a casual, clean look. Patterns can create a focal point; solids blend in softly.
Step 2: Cut Your Base Panels
Cut plywood or foam board into your desired panel size. Common sizes are 12″x12″, 18″x24″, or even large floor-to-ceiling rectangles.
Tip: Use lightweight foam board for easier hanging in apartments.
Step 3: Add Batting or Foam Layer
Lay down a layer of batting or foam on each panel for padding. This adds a luxurious, upholstered feel. Cut the material slightly larger than your board.
Step 4: Wrap the Fabric
Place the fabric over the batting and base. Pull it tight and staple it to the back side of the panel. Start from the center of each side and work your way out to prevent wrinkles.
Pro Tip: Iron the fabric before stapling for a crisp, smooth look.
Step 5: Mount the Panels
Use Command strips, nails, or hanging hooks to attach your fabric wall panels to the wall. Arrange them in a grid, row, or custom pattern.
🎨 Creative Ideas for Using Fabric Wall Panels
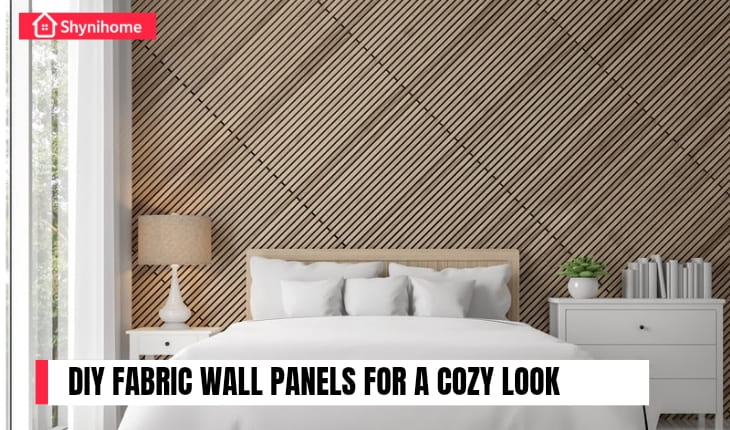
- Headboard Alternative: Mount panels above your bed for a DIY headboard
- Accent Wall: Create a soft, soundproof wall in a home office or nursery
- Gallery Style: Mix colors and textures for a stylish, quilt-like look
- Seasonal Swap: Use removable panels and change fabric with the seasons!
👉 Also Read: Affordable & Creative Home Decor Ideas On A Budget
✅ Final Thoughts
DIY fabric wall panels are an affordable way to add style, warmth, and comfort to any room. They’re simple to create, endlessly customizable, and perfect for renters and homeowners alike. With just fabric, foam, and a little creativity, you can completely transform a dull wall into a cozy and inviting space.
Ready to make your walls pop? Grab some fabric and get started today!