Discover easy steps to repair wall cracks in your home. This beginner’s DIY guide covers everything from tools to finishing, helping you fix cracks professionally.
Table of Contents
Toggle🧱 Why Wall Cracks Happen (and Why You Should Fix Them)

Wall cracks are one of the most common household issues. They may appear due to foundation settling, temperature changes, or moisture damage. If left unattended, even small cracks can grow, leading to structural problems or ugly interiors.
The good news? You can repair most cracks yourself — no contractor needed! Let’s walk through it step by step.
🧰 Tools and Materials You’ll Need
Before starting, gather the following:
- Putty knife
- Sandpaper (medium and fine grit)
- Crack filler or spackling paste
- Primer and paint (to match wall color)
- Clean cloth
- Optional: Joint tape (for larger cracks)
💡 Tip: Most of these tools are available in any local hardware store or DIY kit.
👉 Also Read: How to Fix a Leaky Faucet: A Step-by-Step DIY Guide
🧱 Step-by-Step Guide to Repair Wall Cracks

🧩 Step 1: Clean the Crack Area
Use a cloth to remove dust and loose particles around the crack. This ensures better adhesion of filler.
🪓 Step 2: Widen the Crack Slightly (Optional)
For thin hairline cracks, gently widen them using the edge of a putty knife. This gives the filler more surface to bond with.
🧴 Step 3: Apply Crack Filler or Spackling Paste
Using a putty knife, press filler into the crack firmly.
Smooth the surface and scrape off any excess.
📝 For deep or large cracks, apply joint tape first, then filler.
🧽 Step 4: Let It Dry Completely
Allow the filler to dry as per the product instructions (usually 1–2 hours). For large cracks, drying may take up to 24 hours.
🪵 Step 5: Sand the Surface
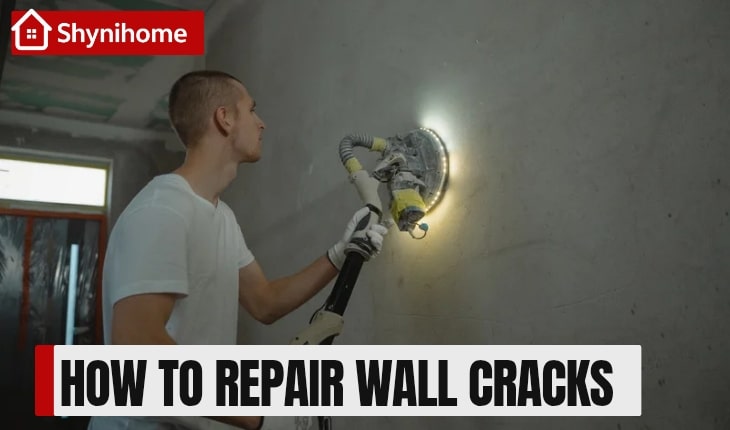
Once dry, sand the area until it’s smooth and flush with the surrounding wall. Start with medium-grit and finish with fine-grit sandpaper.
🎨 Step 6: Prime and Paint
Apply a coat of primer to seal the area.
Then paint over it to match the rest of your wall — and you’re done!
⚠️ When to Call a Professional?
DIY is great for cosmetic or small cracks, but if you notice:
- Large, diagonal cracks
- Cracks near doors or windows that keep reopening
- Cracks with water stains
…it’s best to consult a structural expert. These may indicate deeper foundation issues.
💡 Bonus Tips for a Long-Lasting Fix
- Use paintable filler to match your wall color
- Avoid painting over wet filler
- Inspect walls twice a year to catch cracks early
- Use flexible fillers in areas prone to temperature changes
👉 Also Read: Guide to DIY & Home Repair: Fix Your Home Like a Pro
🏡 Final Thoughts
Wall cracks can look scary, but most of them are easy and inexpensive to repair at home. With just a few tools and some basic know-how, you can restore your wall’s appearance in a few hours.
DIY wall repair isn’t just a skill — it’s a step toward owning your home maintenance confidently.
