Whether you’re building a shelf, hanging a frame, or cutting wood — accuracy is everything. And that’s where your best friend steps in: the Measuring Tape. 🧰📏
While it seems simple, many people actually use it the wrong way — resulting in crooked furniture, uneven cuts, or wasted materials. Let’s fix that today! 💪
Table of Contents
Toggle🔍 Understanding the Parts of a Measuring Tape
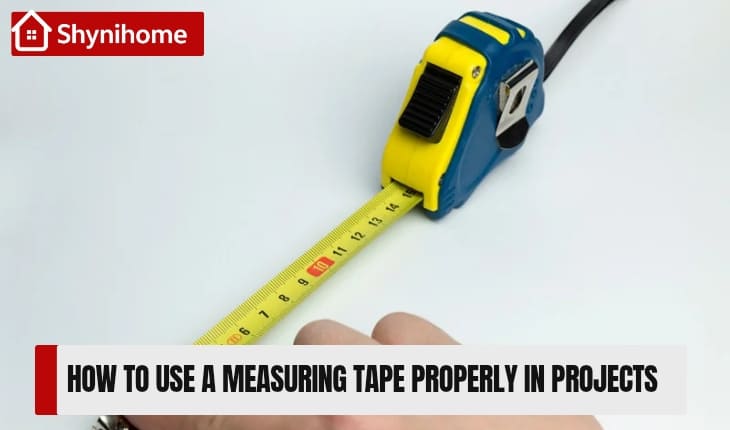
Before diving into usage tips, let’s break down the key parts:
- Hook: The small metal tip at the end (moves slightly for accurate inside & outside measurements)
- Blade: The actual tape marked with inches/cm
- Lock Button: Holds the tape in place once pulled out
- Case: Protective shell — usually plastic or metal
🎯 Pro Tip: That little slot in the hook? It’s made to latch onto a nail or screw for hands-free measuring!
👉 Also Read: Basic Tool Maintenance Tips Every Homeowner Should Know
✅ How to Use a Measuring Tape the Right Way

1️⃣ Start with a Firm Hold
Pull the tape smoothly while holding the hook against the edge of your material.
📌 Use your thumb to steady the case for better control.
2️⃣ Use the Hook Correctly
That little wiggle in the hook is intentional.
- For outside measurements, the hook pulls against the edge.
- For inside measurements, the hook pushes in slightly to adjust for its own thickness.
🧠 This ensures precise readings every time!
3️⃣ Use the Lock Button
Once you reach your target point, press the lock button to freeze the measurement.
✅ This helps you write down, mark, or double-check without the tape snapping back.
4️⃣ Read the Markings Accurately
Most measuring tapes include:
- Inches (1, 2, 3, etc.)
- 1/16″ increments between each inch
- Centimeters & millimeters (on metric tapes)
📏 Learn to read:
- 1/2″ (midway between inches)
- 1/4″, 1/8″, 1/16″ for detailed work
👁️ Look closely — misreading even 1/8″ can ruin your project!
5️⃣ Measure Twice, Cut Once!
This golden rule never gets old.
✂️ Before making any cuts:
- Check your number
- Re-measure
- Confirm again
🧠 A 5-second check can save hours of work.
6️⃣ Use Stud Markings (Every 16″)
Notice small black diamonds or red marks?
These are often stud indicators — especially useful in construction.
🧱 Helps when:
- Installing shelves
- Hanging TVs
- Mounting cabinets
7️⃣ Use the Back of the Case for Inside Measurements
Most tape cases have a printed length (e.g., 3 inches).
📐 To measure a corner:
- Extend the tape from wall to wall
- Add the case’s length for total accuracy
- No bending or guessing needed!
🛠️ Bonus Measuring Tips:
✅ Use chalk or pencil for temporary marks
✅ Keep the blade straight for true readings
✅ Replace your tape if the hook is bent or the markings are worn out
✅ Don’t let the blade snap back hard — it damages the spring
🌟 Best DIY Uses for a Measuring Tape
- Building furniture
- Laying out tile or flooring
- Installing curtain rods
- Cutting wood or pipes
- Planning garden beds
- Hanging wall decor
🎯 Accuracy makes your projects look pro, even if you’re a beginner!
👉 Also Read: DIY Tools 101: A Beginner’s Guide to Home Improvement
🧠 Final Thoughts:
The Measuring Tape may be simple, but it’s one of the most essential tools for every DIYer and homeowner. By learning to use it properly, you’ll avoid costly mistakes and make your work faster, cleaner, and more precise.
So next time you pick it up — do it like a pro! 🧰📏💪
